WordPress Site
- First, you need to launch the CodeGuard Control Panel.
- Login to myVEBA
- Click the “Services” box
- Click the desired CodeGuard plan
- Scroll down, and click the “Manage CodeGuard” button
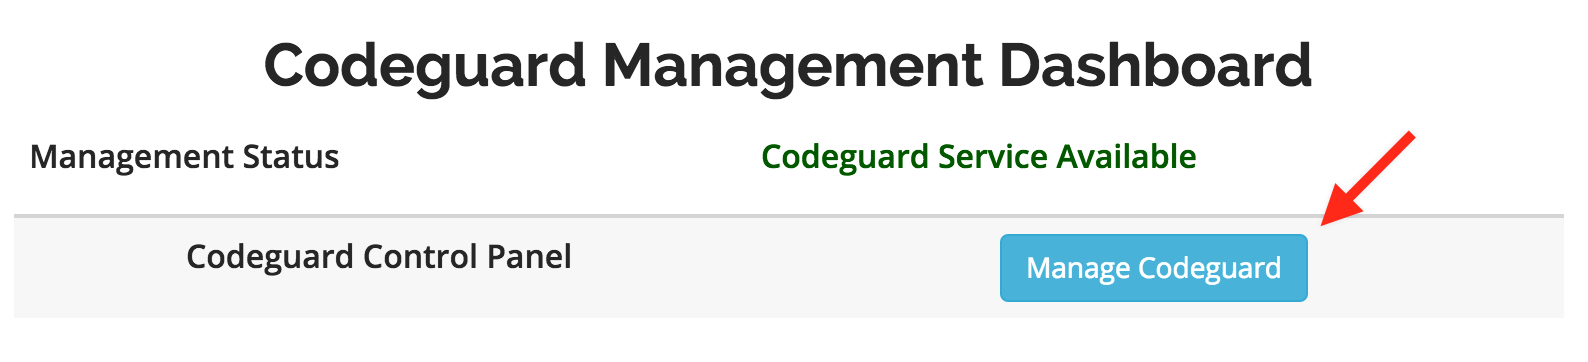
- This is your CodeGuard Dashboard. To add a WordPress Site:
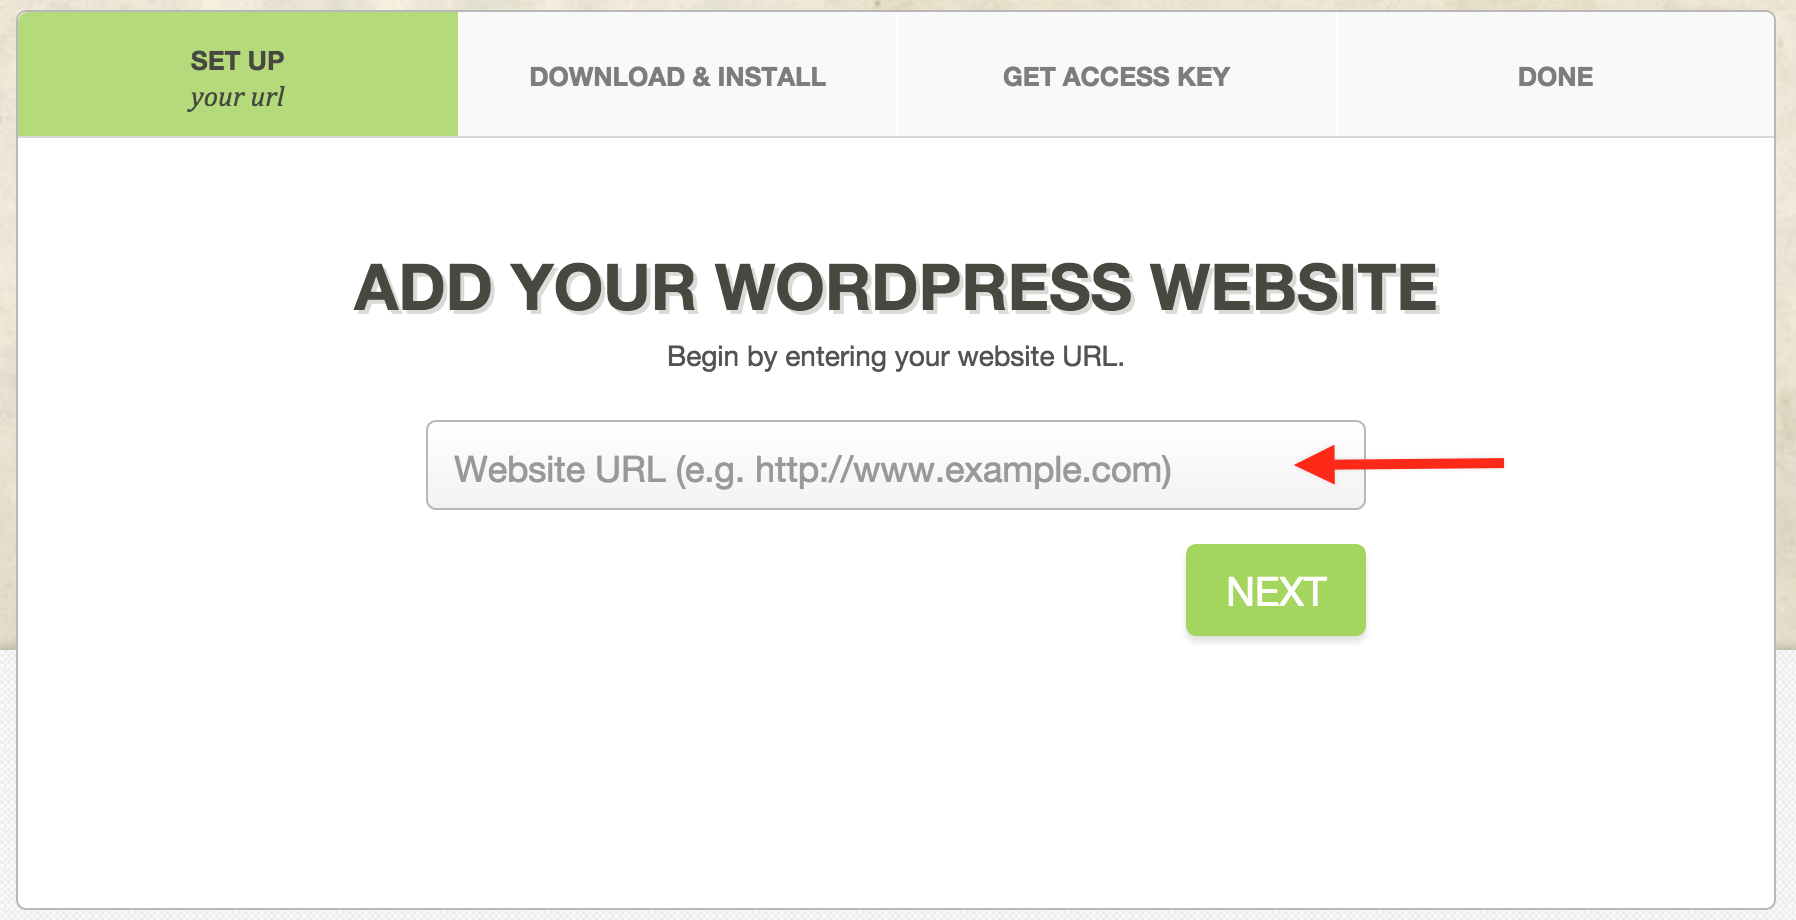
- Click the “Add WordPress Website” button

- Enter your website URL in the box then click next
- In a new tab/window, login to your WordPress website and install the CodeGuard plugin
- WordPress Plugin Link: https://wordpress.org/plugins/codeguard/
- You can also search for the plugin from within WordPress using the keyword “CodeGuard”.
- NOTE: If you are a VEBA Web customer, please open a support ticket to have a VEBA Web Advisor complete this process for you.
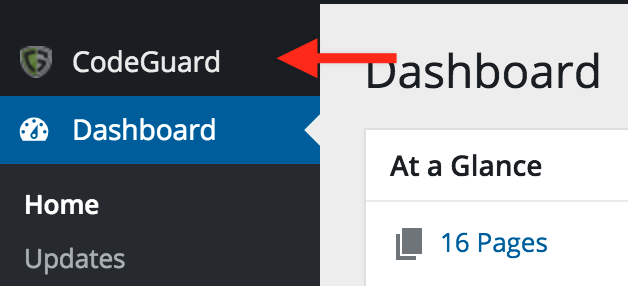
- Go back to the CodeGuard Control Panel and click “Next”. A unique access key will automatically be generated for you. Go back to your WordPress Dashboard and click the CodeGuard tab in the WordPress menu.
- Paste the access key into the Unique Access Key box to finish activating your plugin.
- You’re all set! You can now trigger backups right from within WordPress. Go ahead and start your first backup.
- Click the “Add WordPress Website” button
