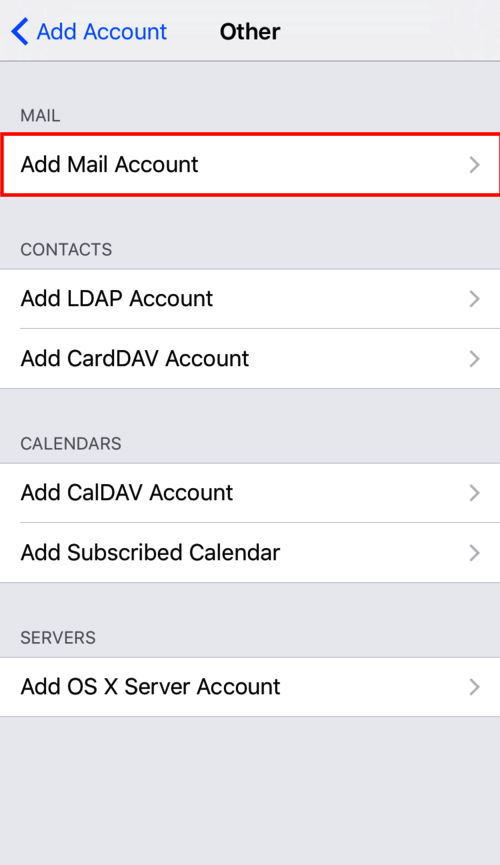
Name: Enter your name as you wish it to appear when you send email.
Address: Enter your complete email address.
Password: Enter your email password.
Description: This will be used to identify this email account on your iPhone.
Tap Next.
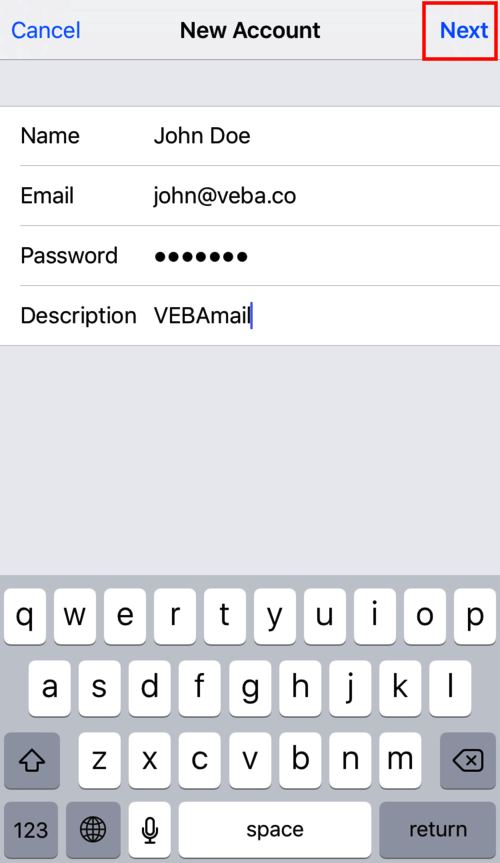
We recommend IMAP because it will keep messages in sync between your iPhone and any other computers or devices that you also use with IMAP to access your email account.
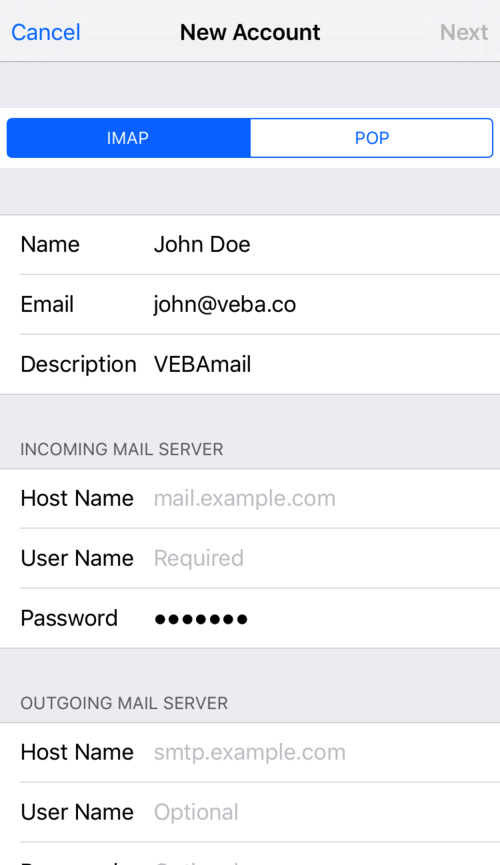
*** For IMAP Configuration (Recommended Configuration)
Under the Incoming IMAP Mail Server section, enter the following settings.
Host Name:
imap.your-domain-name (eg: imap.demomonkey.org)
User Name: Enter your complete email address.
Password: Enter your email password.
*** For POP Configuration
Under the Incoming POP Mail Server section, enter the following settings.
Host Name:
pop.your-domain-name (eg: pop.demomonkey.org)
User Name: Enter your complete email address.
Password: Enter your email password.
Under the Outgoing Mail Server section, enter the following settings:
Host Name:
smtp.your-domain-name (eg: smtp.veba.co)
User Name: Enter your complete email address.
Password: Enter your email password.
Once the email configuration is added, tap Next to continue.
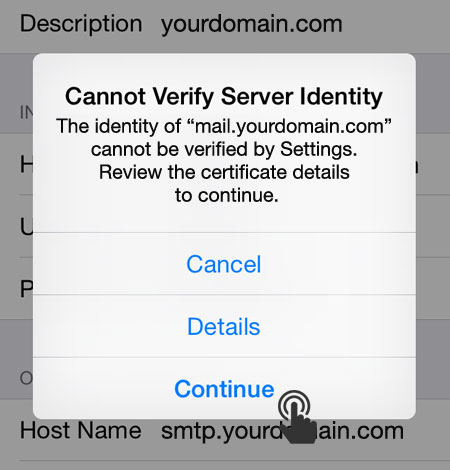
After you fill in each section for the incoming and outgoing server, your phone will attempt to verify the server. Make sure to select to trust the certificate. The certificate is a self-signed certificate used by email server.
Congratulations your account information is now setup successfully!

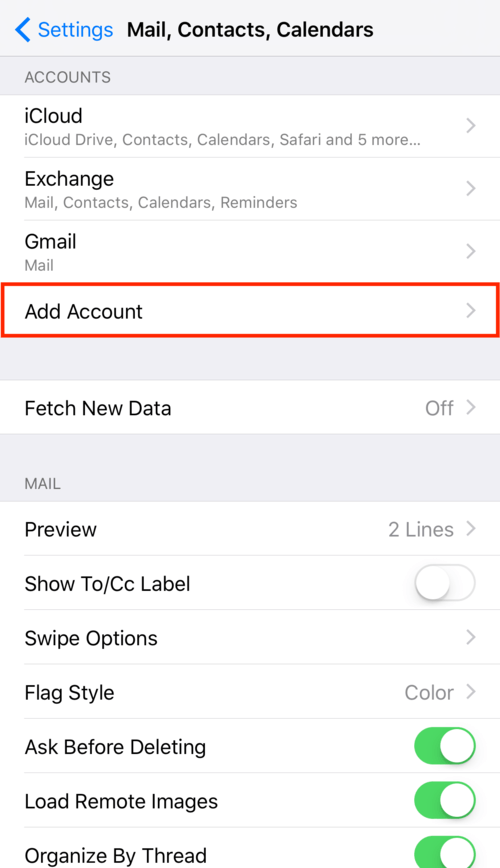
Upon successful completion, you will be taken back to the Mail screen. Your account will now be listed in the Accounts section.